

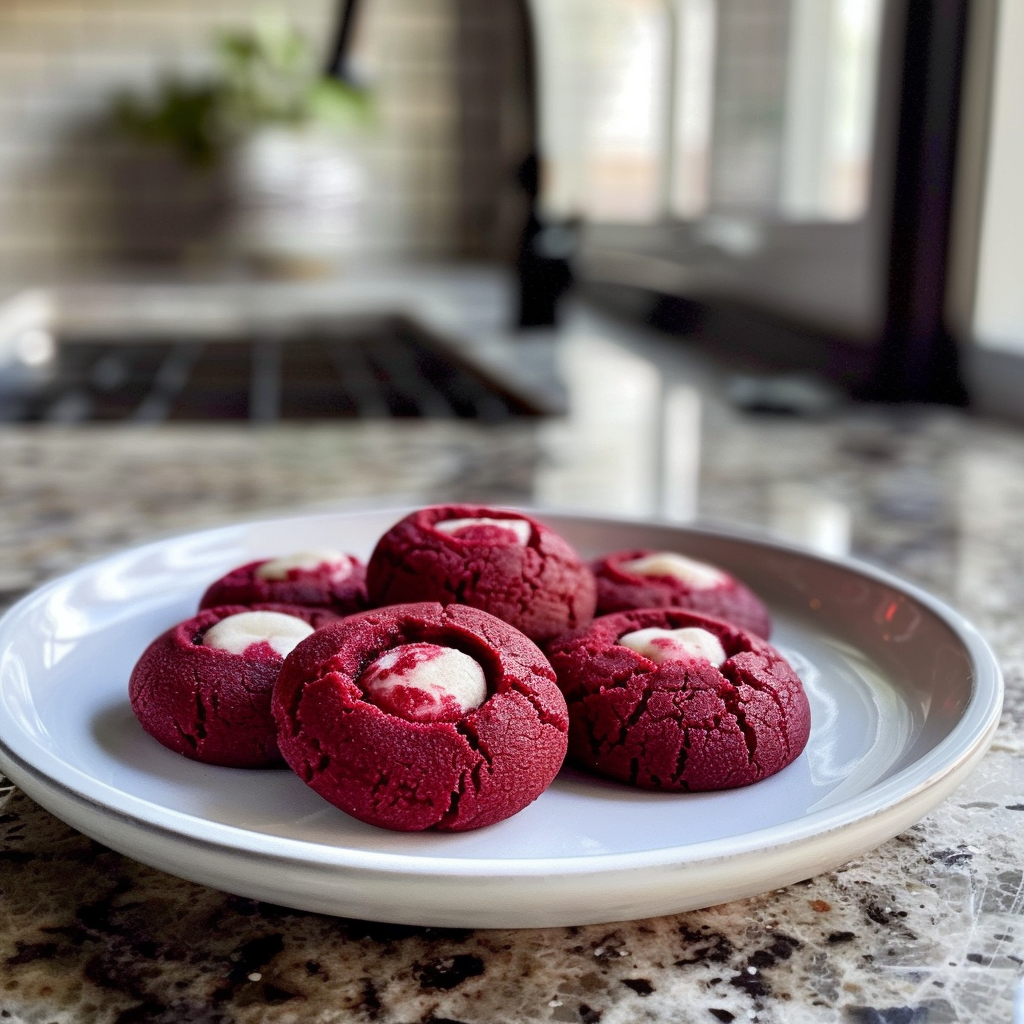
Red Velvet Thumbprint Cookies: The Secret to Soft, Chewy Bites are the superheroes of the dessert world! Imagine a cookie that’s soft, chewy, and bursting with a rich, velvety flavor. Picture yourself biting into one, the sweet cream cheese filling melting in your mouth like a warm hug on a cold day. festive candy cane cookies These cookies are not just a treat; they are an experience that will have you grinning from ear to ear. For more inspiration, check out this banana foster chex mix recipe.
Now let me take you back to a delightful Sunday afternoon when my grandma decided to whip up these Red Velvet Thumbprint Cookies. The aroma of vanilla and cocoa wafted through her kitchen, mingling with laughter and stories. savory cheesy chicken skillet Every bite reminded us of love and togetherness, making them perfect for family gatherings or cozy nights in. Trust me; this recipe will make your taste buds dance!
Why You'll Love This Recipe
- Red Velvet Thumbprint Cookies are incredibly easy to prepare, making them great for beginners or busy bakers
- The combination of flavors is amazing, with chocolatey richness paired with tangy cream cheese
- Their vivid red color makes them visually stunning and perfect for special occasions
- These cookies are versatile enough to be enjoyed as a dessert or fun snack any time of year
My friends couldn’t stop raving about how delicious these cookies were at my last potluck!
Essential Ingredients
Here’s what you’ll need to make this delicious dish:
-
All-Purpose Flour: Essential for structure; sift it well for lighter cookies.
-
Cocoa Powder: Use unsweetened cocoa powder for that rich chocolate flavor.
-
Sugar: Granulated sugar provides sweetness; don’t skimp on it!
-
Butter: Softened butter creates a tender texture; let it sit out before mixing.
-
Egg: One large egg helps bind everything together beautifully.
-
Red Food Coloring: Use gel food coloring for vibrant red cookies without adding too much liquid.
-
Cream Cheese: Make sure it’s softened for easy mixing with the sugar.
-
Powdered Sugar: For the creamy filling; sift it before using to avoid lumps.
-
Vanilla Extract: A splash adds warmth and depth to the flavor profile.
The full ingredients list, including measurements, is provided in the recipe card directly below.
Let’s Make it Together
Preheat Your Oven and Prep Your Baking Sheet: Preheat your oven to 350°F (175°C). Line your baking sheet with parchment paper so your cookies won’t stick like glue. For more inspiration, check out this butterscotch chocolate chip cookies recipe.
Mix the Dry Ingredients: In a bowl, whisk together flour and cocoa powder until combined. This ensures an even distribution of flavor throughout each cookie.
Create the Cookie Dough: In another bowl, beat softened butter and sugar until fluffy; this should take about 3-4 minutes. Valentine’s Day sugar cookie bars Add in the egg and red food coloring until everything is mixed well.
Add Dry Ingredients to Wet Ingredients: Gradually fold in the dry mixture into the wet ingredients using a spatula to keep things airy. You want a dough that holds its shape but isn’t too stiff.
Scoop and Form Thumbprints: Using a tablespoon or cookie scoop, drop mounds onto your prepared baking sheet about 2 inches apart. Now comes the fun part—use your thumb (or finger) to create an indentation in each mound!
Bake and Cool: Bake for 10-12 minutes or until edges are firm but centers remain soft. Let them cool on the baking sheet before transferring them to a wire rack.
Create the Cream Cheese Filling: While your cookies cool down, beat softened cream cheese with powdered sugar and vanilla extract until smooth and creamy—this is where magic happens!
Fill Those Indentations: Once cookies are cool, spoon or pipe cream cheese filling into each thumbprint. Feel free to enjoy any leftovers right off the spoon!
Now that you’ve made these delightful Red Velvet Thumbprint Cookies: The Secret to Soft, Chewy Bites, get ready for some serious compliments! Enjoy them fresh out of the oven or store them in an airtight container (if there are any left!). chewy crinkle cookies.
You Must Know
- Red Velvet Thumbprint Cookies are not just pretty; they melt in your mouth
- The cream cheese center adds a delightful surprise, making these cookies irresistible
- Remember to chill the dough for perfect texture and shape—trust me, it’s worth it!
Perfecting the Cooking Process
Start by preparing the dough and chilling it for at least 30 minutes before baking. Preheat your oven while rolling the cookies, ensuring they bake evenly and become chewy.

Add Your Touch
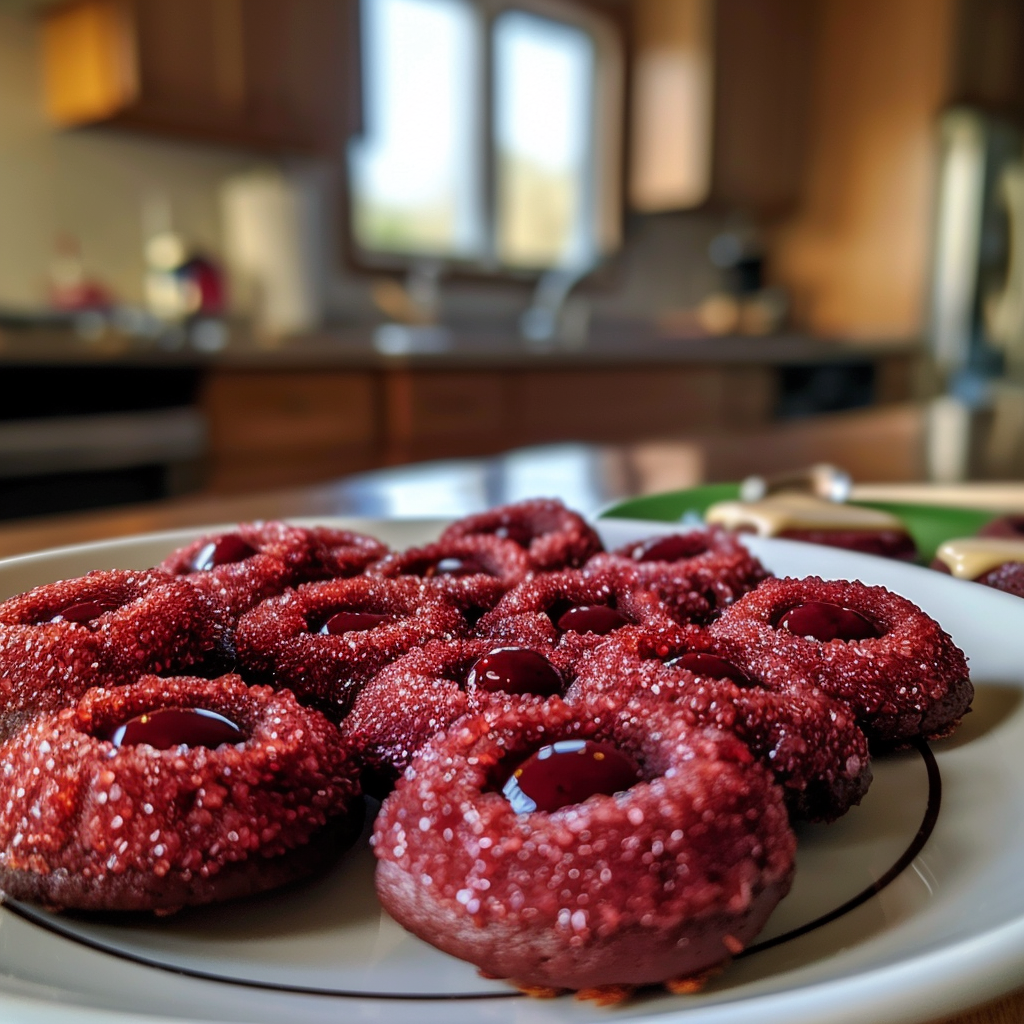
Feel free to swap out the cream cheese filling with chocolate ganache or raspberry jam for a fruity twist. Use food coloring to adjust the red hue if desired!
Storing & Reheating
Store these cookies in an airtight container at room temperature for up to one week. For a warm treat, pop them in the microwave for about 10-15 seconds.
Chef's Helpful Tips
- Ensure your butter is softened but not melted for that perfect dough consistency
- Overmixing will lead to tough cookies, so mix just until combined
- Chilling the dough prevents spreading and keeps them thick and chewy
I remember baking these cookies for a holiday party, and my friends devoured them within minutes. Their laughter filled the kitchen as they tried guessing the secret ingredient in that creamy center!
FAQ
What makes Red Velvet Thumbprint Cookies different from regular cookies?
These cookies have a unique red color and a cream cheese filling that sets them apart.
Can I use other fillings instead of cream cheese?
Absolutely! Chocolate ganache or fruit preserves work wonderfully as filling alternatives.
How do I prevent my cookies from spreading too much?
Chill your dough before baking to maintain thicker shapes and achieve that perfect texture.

Red Velvet Thumbprint Cookies
- Total Time: 32 minutes
- Yield: Approximately 24 cookies 1x
Description
Red Velvet Thumbprint Cookies are a delightful treat that combines soft, chewy cookie texture with a luscious cream cheese filling. Bursting with rich cocoa flavor and eye-catching red color, these cookies are perfect for special occasions or cozy family gatherings. Each bite offers a warm hug of flavor that will leave your taste buds dancing. Easy to make and visually stunning, they’re sure to impress friends and family alike!
Ingredients
- 2 cups all-purpose flour
- 1/2 cup unsweetened cocoa powder
- 1 cup granulated sugar
- 1/2 cup softened butter
- 1 large egg
- 1 tablespoon red food coloring (gel)
- 4 oz softened cream cheese
- 1 cup powdered sugar
- 1 teaspoon vanilla extract
Instructions
- Preheat oven to 350°F (175°C) and line a baking sheet with parchment paper.
- In a bowl, whisk together flour and cocoa powder.
- In another bowl, beat softened butter and sugar until fluffy. Add the egg and red food coloring; mix well.
- Gradually fold in dry ingredients until just combined.
- Scoop mounds onto the baking sheet, creating indentations with your thumb.
- Bake for 10-12 minutes until edges are firm but centers remain soft. Cool on a wire rack.
- Beat cream cheese with powdered sugar and vanilla until smooth; fill indentation in each cookie.
- Prep Time: 20 minutes
- Cook Time: 12 minutes
- Category: Dessert
- Method: Baking
- Cuisine: American
Nutrition
- Serving Size: 1 cookie (30g)
- Calories: 150
- Sugar: 10g
- Sodium: 75mg
- Fat: 7g
- Saturated Fat: 4g
- Unsaturated Fat: 2g
- Trans Fat: 0g
- Carbohydrates: 20g
- Fiber: 1g
- Protein: 2g
- Cholesterol: 25mg

Leave a Comment